Craving for cheesecake? Sharing with you a classic baked cheesecake recipe that, with all the bloopers while making it, turned out to be the yummiest we have tried ever! It is so good, creamy and rich, that your kids might not want to order from outside anymore. Impress the family this weekend and prepare this oh-so-rich dessert for your Sunday meal!
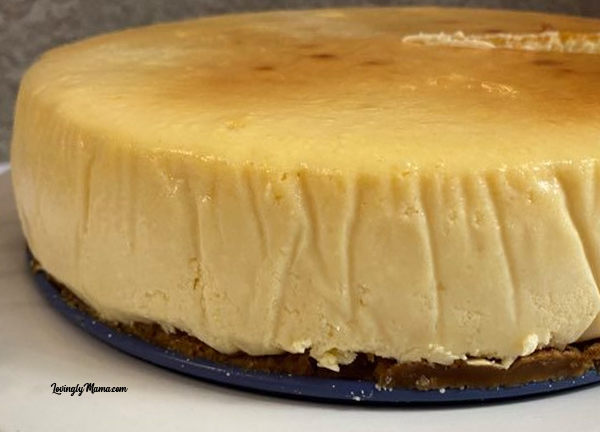
My Baked Cheesecake Recipe
One of my favorite desserts has always been cheesecake. You would find me ordering a slice whenever I dine out or go to a cafe. And now, I realized that my daughters like it, too. They had been bugging me to make them one but I had been stalling because the ingredients alone can really affect the family’s weekly budget.
But I didn’t regret making this for the first time. It’s just so good! I have never had cheesecake this good. It is moist and creamy and honestly, it no longer needs any topping. That would save us additional expense. This is indeed a classic.
Do you want to know why this baked cheesecake recipe is good? A regular-sized cheesecake (10 inches) is around P1000 in Bacolod cafes. The ingredients for our smaller-sized pan are costs almost P1000 already. Go do the Math. But according to our eldest daughter Shawna, this is totally worth it.
This baked cheesecake recipe may sound intimidating at first. But if you study it and prepare your ingredients and baking tools beforehand, it is actually pretty easy. I was so distracted while making this that I basically just dumped everything and waited for the electric oven to do its job.
Ingredients:
- Oil, for greasing
- 15 pcs. Graham crackers (45 slices)
- 1 tablespoon + 1 1/2 cup refined sugar
- 4 tablespoons butter, melted
- 3 bars cream cheese (225g each), room temperature
- ½ cup all-purpose cream
- 1 can cream
- 1 pinch salt
- 1 tsp. vanilla
- 4 tablespoons all-purpose flour
- 3 whole eggs
- Boiling water, for baking
- Mixed berry preserves or sliced fruit, for topping during serving
Tools You Will Need
- Electric oven
- Mixing bowl
- Measuring cups and spoons
- Hand mixer (or whisk)
- Springform pan
- Baking paper
- Spatula
- Aluminum foil
- Bigger pan that could fit the springform and allow you to set up a water bath
Procedure:
- Preheat the oven to 175° C.
- Crush the Graham crackers anyway you want. I always use the whole crackers because I find that it has more moisture than the store-bought crushed ones. I placed them in the blender with the melted butter and 1 Tbsp. sugar.
- Grease an 8.5″ springform pan. Cut a circular piece of baking paper that can fit the bottom of the pan and place it there. (I honestly forgot the parchment at the bottom so I was not able to remove my cheesecake in full).
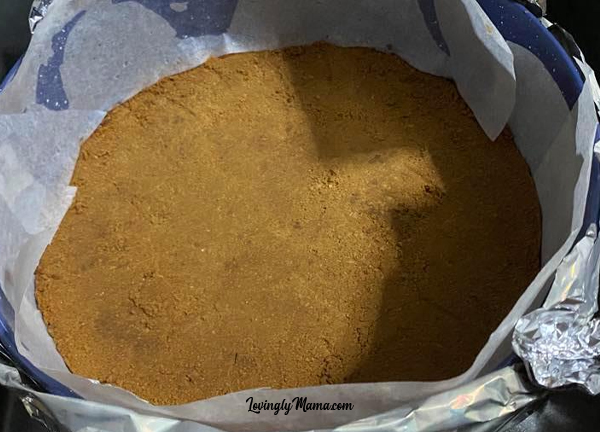
- Pour the crushed Grahams onto the pan and pat them down using a spatula or the bottom of a small bowl. This is a commonly used no-bake pie crust. But this time, ake this in the oven for about 8 minutes to prevent it from mixing with the cheesecake. Take it out of the oven and allow it to cool.
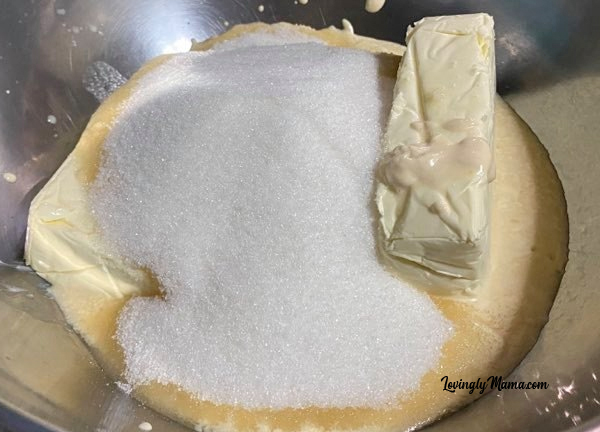
- While the crust is in the oven, make the cream cheese mixture. Place the three bars of cream cheese, sugar, salt, vanilla, and cream in a mixing bowl. Beat at medium speed until combined.
- Mix in the flour in 2 parts and continue beating until incorporated.
- Add one egg at a time and beat after each addition. But do not overbeat. Use a spatula to mix everything together.
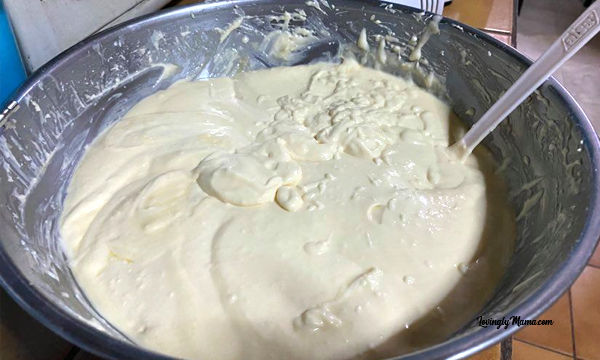
To Assemble the Cheesecake
Grease the sides of the cooled pan and place baking paper all around. The oil should hold the paper in place. Then wrap the bottom of the springform with foil so that the water will not go in during baking.
Pour in the cream cheese mixture and level it with a spatula. Place the springform pan in the middle of a bigger baking dish and slide it into the oven.
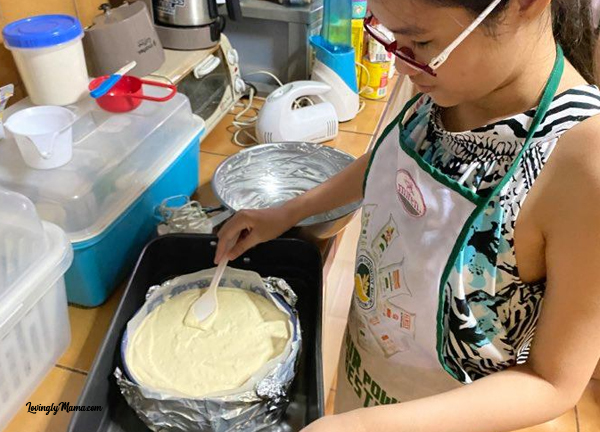
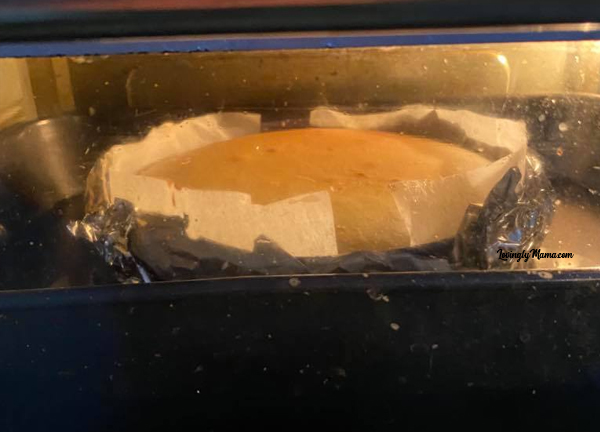
Once inside, I poured the boiling water into the bigger pan about 1-inch deep to make a water bath.
Bake for one hour. Turn off the oven and leave the baked cheesecake in there for another hour without opening the oven door.
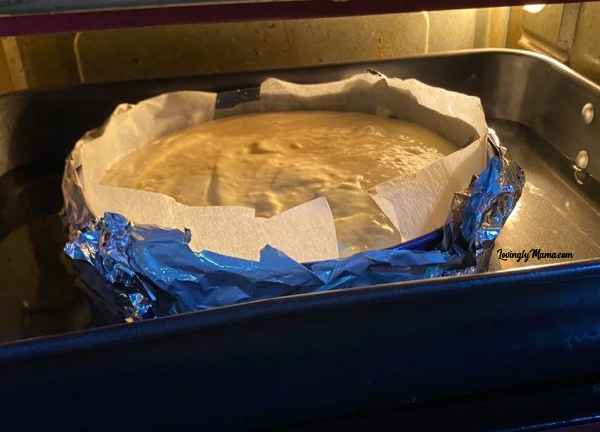
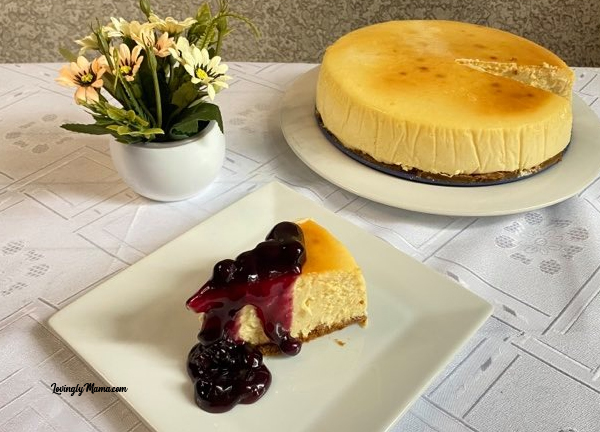
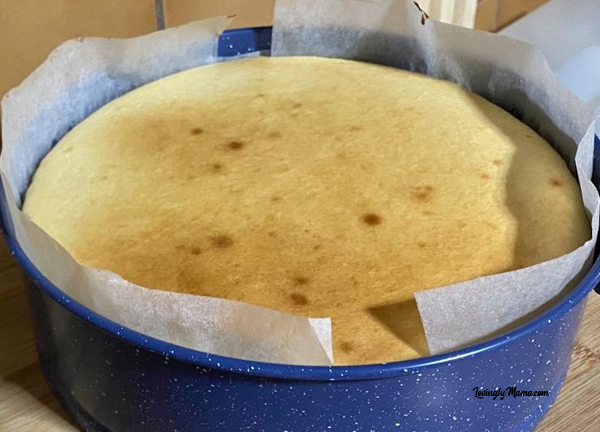
Remove the springform pan and allow it to cool on a wire rack. You will notice that despite the brown top, the cheesecake is still jiggly. After about an hour or so of cooling, cover it with foil and chill for at least 4 hours. In my case, I chilled it overnight before serving it with some blueberry preserves.
Kitchen Hack
Here are some cooking hacks that I can share with you in order to better enjoy this baked cheesecake recipe.
To make the cleanest slice of cheesecake, dip your knife in hot water first then wipe off with a clean cloth. Then make the slice. Dip it again for the other side. I didn’t do that though, as it’s too much work and my kids do not mind anyway.
Place the fruit toppings only when you are ready to serve. That way, the syrup doesn’t leach into the cheesecake and it keeps the slice “fresh”. I realized that the kids are fine without the fruit preserve toppings–so next time it will just be plain baked cheesecake for them. No more extra expense.

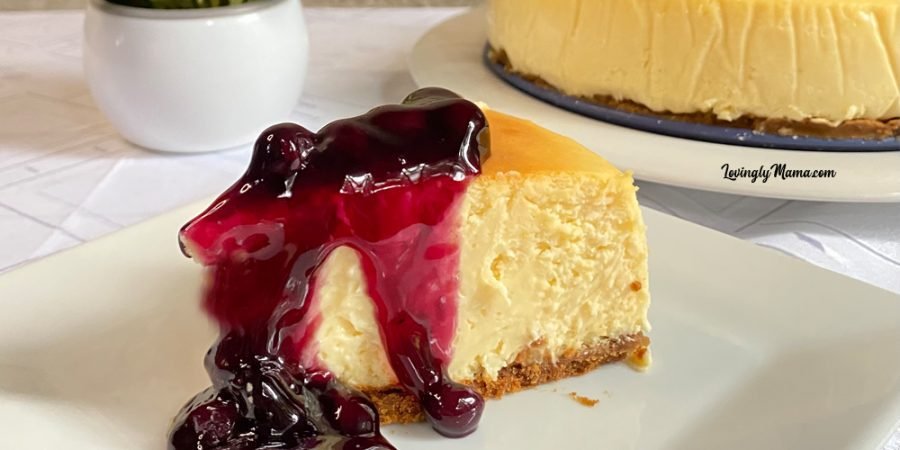
This cheesecake is Yumminess overload. For sure Siobe Shane ❤️ loves it so much
The way it looks, I’m pretty sure it’s so yummy!!! Omg, I’m craving 🤤
I ♥ this, but!!! I will not be able to survive the “overnight” wait! Hahaha. 😂
hahahahhaa it’s nice to eat when firm and cold. 🙂
Fave ko din ang cheesecake Ma..Kaso di talaga ako makagawa on my own.Medyo may kamahalan nga kasi ang Ingredients..I really love this Classic style Cheesecake mukhang makakailang slice ako..And yes Ma minsan yung mga pagkakamali natin sa Kusina ayun pa nagpapasarap ng recipe.
Eto talaga yung gusto ko matutunan gawin kasi super fave ko ang cheesecake. Kaya naman I’m so happy sa recipe mo na’to Mommy. Thanks for sharing po.
Yummy cheesecake. Grabe always yummy ang mga bine bake niyo po Mommy Sig♥️
Yummily overload cheesecake😋😋😋😋 all time favorite🌺
Napakasarap.♥️♥️♥️
Back on this Blog Mommy.Nagrerequest si Hubby ng Cheesecake and this one is the best and easiest recipe na nakita ko.Napakadetailed po..Thanks for the Recipe Mommy